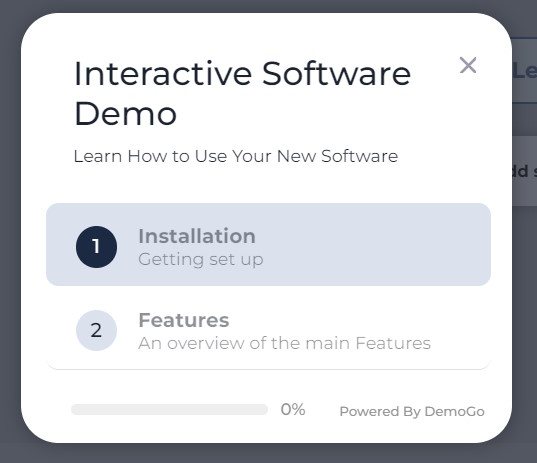
Demogo projects can consist of an individual, standalone demo, or a group of demos grouped together and linked via a Group Menu on publication of the Group. The Group Menu lists all demos in the group, allowing users to click between each demo. It also contains a progress bar, indicating the percentage of the total group of demos that has been completed.
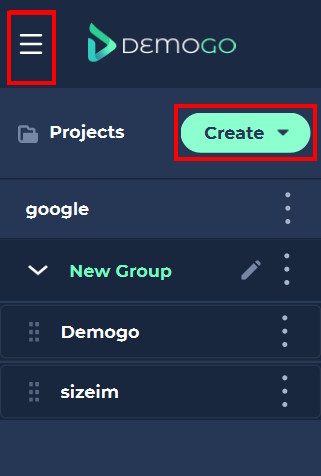
A new project can be created by clicking on the ‘Create’ button above the project list, or by selecting ‘New’ from the main DemoGo menu (top-left of the window).
Clicking on the caret icon next to ‘Create’ reveals a dropdown menu containing the option to create a new Group. You can add individual Projects to the newly-created group after creation.
Creating a Group
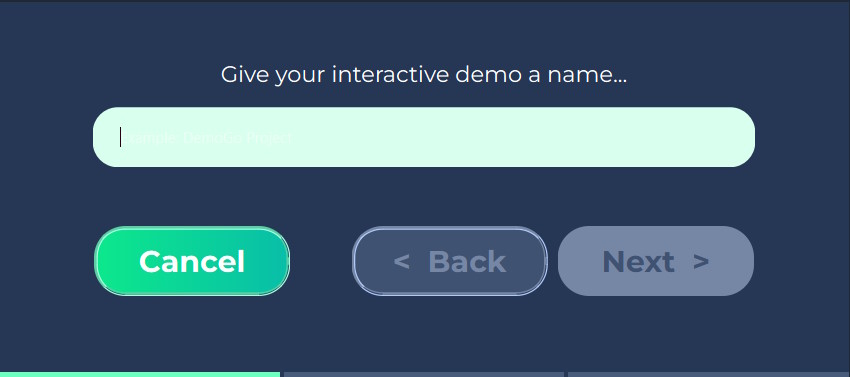
When creating a Group, you will first be prompted to give your new Group a name.
You will then be asked to add a description for your Group. This description will appear in the Group Menu.
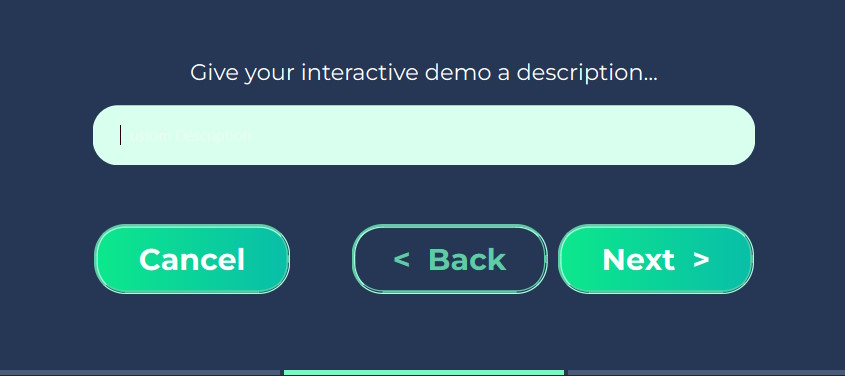
Once you have given your Group a name and description, it will appear in the Projects panel. You can now begin to add projects to your group. When creating a Project as part of a group, you will be prompted to enter a description for the individual project. This description will also appear in the Group Menu after publication.
Creating an Individual Project
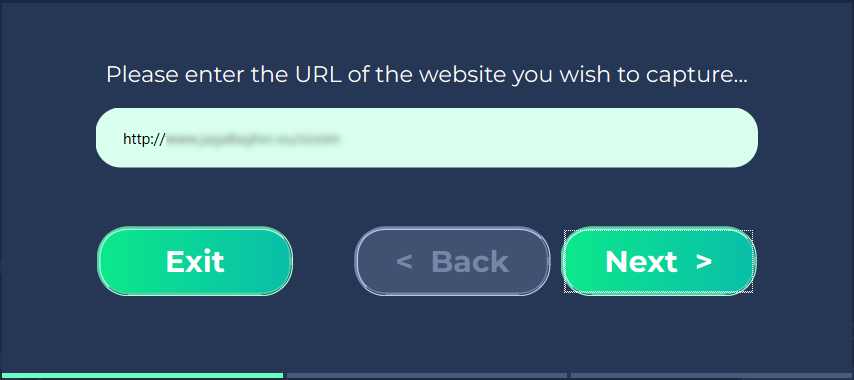
The first step when creating a new project is to enter the url of the website for which you are creating a demo.
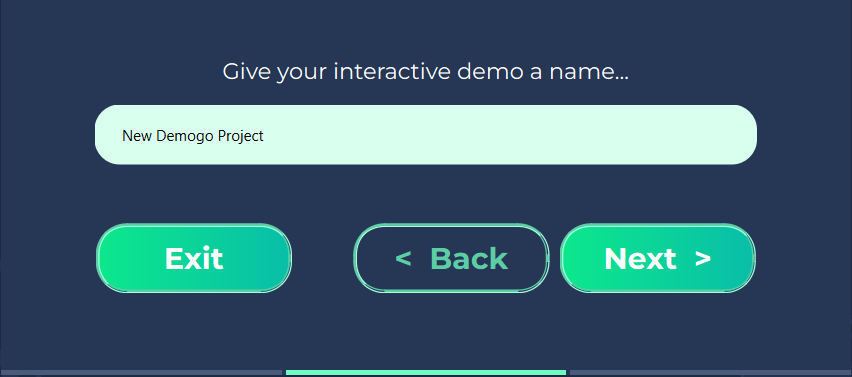
You will then be prompted to give your demo a name. This name will be used when your project is displayed in the Project Library.
DemoGo will then load the Screen Capture page, which consists of the DemoGo Web browser and a ‘Capture’ button. The URL specified on project creation will be loaded in the browser window. If the purpose of the demo being created is to show features that require a user to be logged in, this can be done now, before going ahead and capturing the required screens. Cookie notices, pop-ups, alerts, etc., can also be dismissed at this stage.
In the lower right corner of the Demogo window, you will also see a hide/unhide button, which can be used to hide the shutter icon in order to better see the lower section of the webpage.
