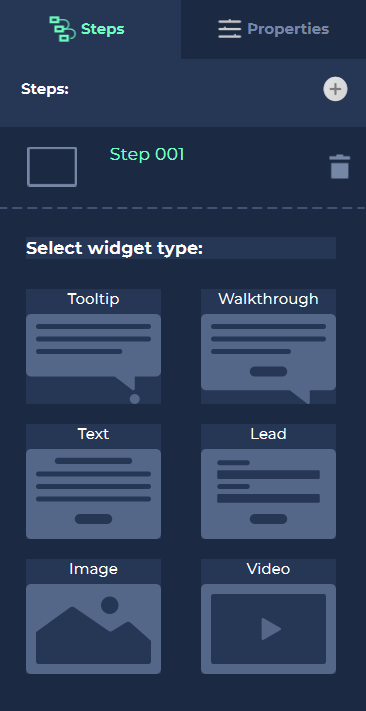
Once you have captured the screens required for your demo, you can begin to add interactive elements to guide users through the demo. Each element will consist of a Widget, which will represent a Step in your demo. The types of widget available are as follows:
- Tooltip
A tooltip can be used to provide a user with information relating to an element. Clicking on the element which is related to the tooltip will take the user to the next step in the demo. - Walkthrough
A Walkthrough is similar to a tooltip, but with the addition of a progress indicator to show users how far through the Walkthrough they are, and how many steps are remaining. - Text
A Text widget will show a block of text, centered on the screen, with optional Next, Close or Back buttons. - Lead
A Lead displays a customisable form, which can be used to collect information from users. - Image
An Image widget displays an image and, optionally, some accompanying text. - Video
A Video widget allows the uploading or embedding of video content, as well as optional text.
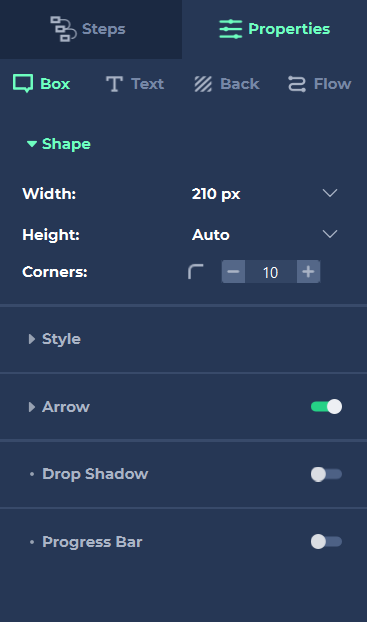
Tooltips and Walkthroughs are associated with a particular element on the screen, such as a button or a menu item. These widgets allow you to add information or instructions related to that element, as well as prompting the user to click on the element to progress to the next part of the demo. They can be added by selecting from the Steps menu, and then selecting the element with which you want to associate the step. You can then enter the required text, as well as editing the shape, style and functionality of the step, using the Properties panel.
The other widget types are not associated with a particular element. When added to the step, they appear in the centre of the window.
If your demo contains multiple screens, one or more of your steps will link to another screen, via the Flow property. Continue to add steps to each screen of your demo in the same way until you have included all of the intended information. The last step in your demo will typically link to the webpage that you used to capture your first screen, allowing the user to begin putting into practice what they have learned from the demo.