In order to publish your demo to the web, DemoGo needs access to an FTP server to upload the demo files to. This can be set up when publishing using the DemoGo FTP Wizard. The Wizard can be used to store multiple server locations and access details, in order to publish different demos to different urls.
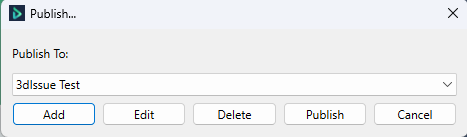
When you are publishing a project, the Publish dialogue will present you with a list of locations to which your demo can be published, based on where you have published demos to before. If you haven’t set up any FTP access previously, you’ll have to click on ‘Add’ to create a publish location.
The FTP Settings dialogue first saves your FTP access credentials and then connects to your server in order to allow you to choose a location to which your demo will be uploaded. To establish a connection to your server, the following details are required.
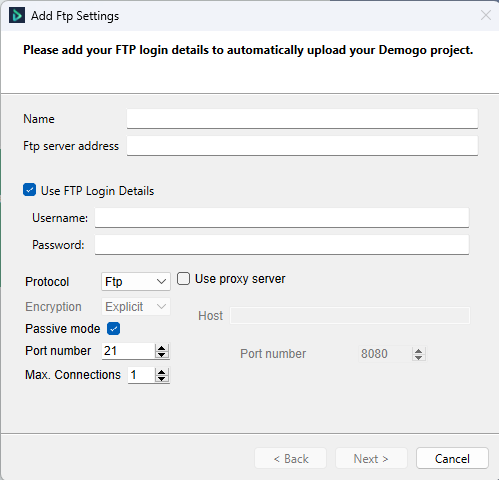
- Name
Give this connection a name so that you can easily select it when you next want to use this connection to publish a demo. - FTP Server Address
The address of the FTP server you want to connect to. This can be a domain name or an IP address. - Use FTP Login Details
This can be deselected if the FTP server supports anonymous connections. - Username/Password
Credentials for accessing the FTP server. - Protocol
Choose between FTP, FTPS and SFTP. - Encryption
Choose between explicit and implicit encryption. - Passive Mode
If you are experiencing issues connecting to the ftp server, try toggling passive mode. Passive mode is used to overcome issues related to certain firewalls and network configurations. - Port Number
Connections usually run on ports 21 (FTP), 22 (SFTP) and 990 (FTPS). Some servers, however, use different ports for security reasons. - Max. Connections
The maximum number of concurrent connections that can be established between the DemoGo software and your FTP server. More concurrent connections should result in quicker publishing, although some servers will have a cap on the maximum number of connections.
If you are unsure of your FTP details, speak to the person responsible for administrating your webspace.
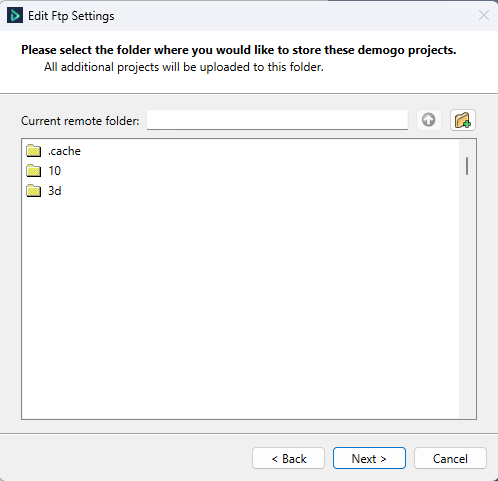
Once you have entered your FTP details and DemoGo has established a connection with your server, you will be presented with your webspace’s directory structure. You can now navigate to the folder on your server to which your demos will be uploaded. Demos are uploaded to a subfolder within your selected folder, the subfolder having the same name as your DemoGo project.
After selecting a folder, you will be asked to confirm your upload settings.
The FTP location of your demo will be determined from the information you have entered in the previous steps. In most cases, the http location of your demo (the address a user will enter to access it) will be the same as the ftp location with the following differences:
- Starting with http or https, instead of ftp
- Ending with index.html
The http address is the address that will open in your browser when you view or publish your demo from within DemoGo. In some cases, depending on your server configuration, your demo’s http address won’t match the FTP location. You can change the http address here to ensure that your demo always opens correctly from within the application.
